Build Smarter: A Modular Backyard Studio You’ll Be Proud Of

Today we dive into DIY modular backyard studio kits, sharing assembly tips and pitfalls learned from real builds, inspectors, and wet Saturdays. Expect practical checklists, cautionary tales, and confidence boosters so you can assemble safely, efficiently, and beautifully, without surprises, busted budgets, or neighbor complaints. Stick around for field-tested advice on layout, sequencing, and the small decisions that change everything, plus opportunities to ask questions, share photos, and help fellow builders avoid the avoidable.

Plan Before You Unbox

A few hours spent planning eliminates days of rework and frustration. Confirm setbacks, height limits, and utilities before any delivery truck appears. Measure turning radiuses for pallets, map a clean staging area, and secure tarps for sudden rain. Create a realistic weekend-by-weekend schedule, including buffer time for inspections and mistakes. Gather helpers in advance, assign roles, and make sure someone owns the checklist. Before cutting a single board, open the manual, annotate steps, and flag anything unclear to ask the manufacturer about.

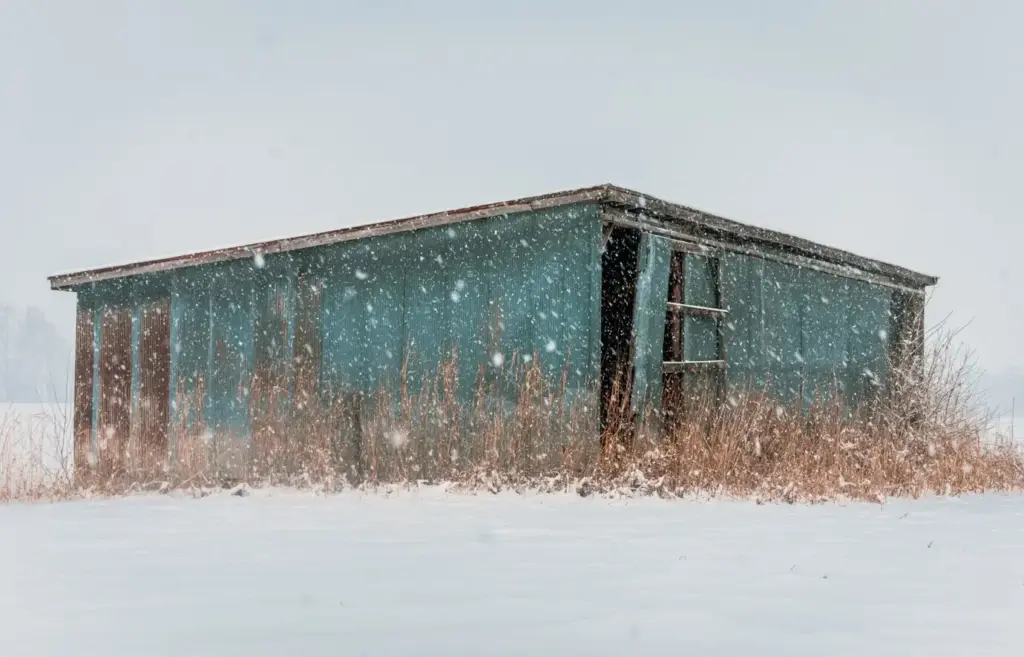
Soil, Drainage, and Frost: Quiet Forces That Matter

Dig test holes to learn your soil’s personality. Clay expands, sand collapses, and loam drains kindly. Add gravel beds and geotextile fabric to prevent settlement and mud soup. Pitch the grade away at least a quarter-inch per foot, guiding water to daylight or a safe swale. In cold climates, dig below frost depth or use helical piers to resist heave. Gutters and splash blocks can save your floor. These invisible choices prevent doors from binding and panels from cracking months after you celebrate completion.

Piers, Skids, or Slab: Choosing What Holds You Up

Each option carries trade-offs in cost, speed, and precision. Concrete piers with adjustable brackets offer level control and airflow beneath the studio, protecting materials from moisture. Skid systems speed installation but demand careful anchoring against lateral movement. A monolithic slab provides unshakable stability and easy rolling chairs, yet requires upfront site work, rebar, and finishing skill. Compare labor, climate, intended use, and code permissions. Whichever you pick, align everything to a datum line and verify spacing before any lumber touches ground.

Dry-Fit, Labeling, and Torque Discipline

Open every bundle gently and inventory hardware against the packing list. Use painter’s tape to add bold labels, arrows, and install order. Dry-fit corners and intersecting walls to find hidden misalignments before committing screws. Set your drill’s clutch so screws seat snugly without crushing OSB or deforming metal channels. Keep bit tips fresh; dull tips slip and bruise fastener heads. Photograph each stage for future reference, and note any manufacturer clarifications directly on your manual margins to prevent repeat confusion.

Racking Resistance, Bracing, and The Magic of Diagonals

Walls fall out of square when diagonal strength is ignored. Use factory-specified shear panels, metal straps, or let-in bracing as directed. Before tightening everything fully, measure diagonals at the top and bottom, nudging with temporary braces until numbers match. Lock bracing in place and re-check after adding the next panel, because loads transfer. Remember that one proud screw can telegraph a surprising bow. When gusts arrive, a properly braced frame feels quiet and solid, preserving door reveals and window operation effortlessly.

Roof Trusses, Sheathing, and Leak-Proof Transitions

Lay out trusses on the ground to confirm spacing and crowns facing consistently. Hoist safely with two ladders and a patient rhythm, bracing the first pair square. Stagger roof sheathing seams, and leave proper expansion gaps per the manual. Flash every penetration meticulously, especially around vents and junction boxes. Use manufacturer’s underlayment with correct overlap lines, and don’t stretch it tight—allow minimal slack for thermal movement. Address eaves, drip edges, and ridge details now, because water never forgives rushed roof transitions.

Keep Water Out, Keep Comfort In

Weatherproofing is a humane act toward your future self. Proper housewrap lapping, tight flashing, and accurate sealants decide if your studio smells fresh or musty come autumn. Windows deserve patience, with sill pans sloped to daylight and corners reinforced. Doors need square frames and shims spaced to manufacturer recommendations. Ventilation routes must stay continuous to avoid trapped moisture. Insulation only works when air doesn’t bypass it. Do these steps generously and you’ll enjoy quiet, stable temperatures and zero mystery stains after storms.

Housewrap, Flashing, and Sill Pans Done Right

Start with a tidy wrap that sheds water like shingles: bottom first, then overlap upward. Roll out smooth, tape seams with approved products, and press firmly on clean surfaces. Build a self-draining sill pan with flexible flashing, ensuring the back dam is intact. At window heads, use drip caps if specified, lapping correctly over the wrap. Never cut corners around corners—reinforce them. Before siding, spray-test with a hose to catch leaks while fixes are easy. Document details for peace of mind later.

Windows, Doors, and Airtight Details Without The Drafts

Dry-fit every unit and confirm consistent gaps with shims. Square the frame before driving long screws. Use low-expansion foam around jambs to avoid bowing, and run air-seal beads where trim will hide them. Install backer rod where joints exceed caulk depth, maintaining flexibility. Set thresholds with care so weatherstripping actually meets its partner. Finally, check reveals, latch engagement, and sweep contact with a flashlight at dusk. These quiet refinements accumulate into meaningful energy savings and a studio that feels crisp, calm, and secure.

Safe Wiring, GFCI Protection, and Inspection Day Calm

Turn off power, verify with a tester, and staple cables at proper intervals. Use GFCI protection where moisture could appear, and arc-fault where code demands. Label your panel clearly, and keep wire bends gentle to protect conductors. Box-fill counts matter; select the correct depth. Leave neat slack for inspector visibility, and print spec sheets for unusual fixtures. If unfamiliar, hire a licensed electrician for final connections. When inspection day arrives, clarity, labeling, and clean paths reduce questions and help approvals sail through.

Insulation R-Values, Soundproofing, and Quiet Focus

Match R-values to climate and cavity depth, and avoid gaps that become cold highways. For sound control, decouple where feasible, add mass, and seal every penetration. Mineral wool resists fire and dampens noise like a champion. Seal top plates and rim joists, then add acoustic sealant around boxes. Consider resilient channels only with a complete system to avoid misses. The result is a steady temperature and a hushed room where concentration feels natural, recordings stay clean, and neighbors barely notice your late creative bursts.

Interior Surfaces, Storage Tricks, and Productive Flow

Choose surfaces that survive bumps and invite creativity: durable paint, washable panels, or plywood that takes screws anywhere. Pre-map tool walls, fold-down benches, and ceiling hooks for seasonal gear. Route cables in tidy raceways, label everything, and leave access hatches for upgrades. Use bright, indirect lighting with high color rendering for comfortable eyes. Keep traffic paths clear, doors fully swinging, and desks facing light without glare. A few smart shelves and drawers eliminate clutter, creating a studio that welcomes work the moment you step inside.

Mistakes to Avoid, Stories to Remember

Lessons stick when told honestly. Builders report walls lifted before bracing, wraps installed backward, and roofs rushed at dusk. Each mistake teaches a durable habit: slow down at transitions, measure twice after breaks, and pre-stage tarps before clouds threaten. Celebrate small wins to sustain morale, and pause when frustration spikes. Comment with your experiences or questions; your nudge might save someone’s weekend. Together we can build smarter studios, fewer regrets, and spaces that keep delivering joy long after the last screw seats.
Childrenofrotiana
Privacy Overview

This website uses cookies so that we can provide you with the best user experience possible. Cookie information is stored in your browser and performs functions such as recognising you when you return to our website and helping our team to understand which sections of the website you find most interesting and useful.